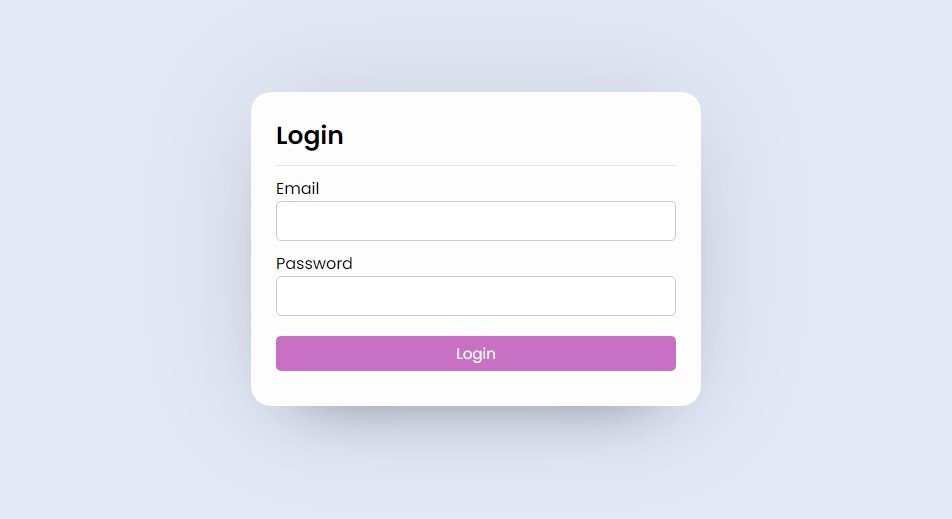
A simple example of a Glassmorphism login form using HTML and CSS. Glassmorphism is a design trend that involves a frosted glass-like effect, often achieved using blurred backgrounds and semi-transparent elements. Here’s a basic implementation.
A Glassmorphism login form is a type of login form design that incorporates the Glassmorphism UI trend. Glassmorphism, also known as frosted glass design, is a design style that mimics the appearance of frosted glass panes, creating a translucent effect with a blurred background. It often involves using semi-transparent backgrounds, blurred elements, and subtle shadows to achieve a layered, glass-like appearance.
In recent years, glassmorphism has become a popular design trend in the world of web development. Its sleek and modern appearance has caught the eye of many designers and users alike. Glassmorphism is a design technique that creates a glass-like effect on elements, giving them a transparent and glossy appearance. In this blog post, we will explore how to create a glassmorphism login form using HTML and CSS.
Create index.html file and copy code and paste code our layout.
<!DOCTYPE html>
<html lang="en">
<head>
    <meta charset="UTF-8">
    <meta name="viewport" content="width=device-width, initial-scale=1.0">
    <title>Glassmorphism Login Form Using HTML & CSS | Mycodingtutorial</title>
    <link rel="stylesheet" href="style.css">
</head>
<body>
    <div class="main-container">
        <div class="container">
            <h3 class="login-heading">Login</h3>
            <form class="input-container">
                <input type="username" class="input-field" placeholder="Username"  required>

                <input type="password" class="input-field" placeholder="password" required>
                <div class="Remember-me-forgot">
                    <div class="Remember">
                        <input type="checkbox" for="Remember-me">
                        <label for="Remember-me">Remember me</label>
                    </div>
                    <span><a href="#">Forgot password</a></span>
                </div>
                <button value="submit" class="btn">Login</button>
            </form>
            <p class="bottom-text">Don't have account? <a href="#">Register</a></p>
        </div>
    </div>
</body>
</html>
The first step in creating any web page is to set up the HTML structure. We will start by creating a simple form with the necessary input fields such as username and password. We will also add a button for the user to submit their login credentials.
Create style.css file and copy code and paste code our layout.
@import url('https://fonts.googleapis.com/css2?family=Poppins:wght@400;500;600&display=swap');
body{
    font-family: Arial, Helvetica, sans-serif;
    background-image: url(pexels-photo-3586966.jpeg);
    background-size: cover;
    background-position: center center;
    background-attachment: fixed;
    margin: 0;
    padding: 0;
    color: white;
}

.main-container{
    height: 100vh;
    display: flex;
    justify-content: center;
    align-items: center;
}

.container{
    border: 2px solid white;
    border-radius: 10px;
    width: 350px;
    height: 350px;
    display: flex;
    flex-direction: column;
    justify-content: center;
    align-items: center;
    backdrop-filter: blur(2px);
}

.container .login-heading {
    font-weight: 700;
    font-size: 30px;
    text-transform: uppercase;
    margin: 10px;
}

.input-container{
    display: flex;
    flex-direction: column;
    width: 325px;
}

.input-container .input-field {
    padding: 13px;
    margin: 10px 10px;
    border: 2px solid white;
    border-radius: 10px;
    background-color: transparent;
    color: white;
}

::placeholder {
    font-weight: 600;
    color: white;
    opacity: 1;
}

.Remember-me-forgot {
    display: flex;
    justify-content: space-around;
    column-gap: 68px;
    font-size: 11px;
    font-weight: 400;
    margin: 12px;
}

.Remember-me{
    display: flex;
    align-items: center;
}

.Remember-me-forgot span a {
    text-decoration: none;
    color: white;
    font-size: 13px;
    font-weight: 600;
}
label {
    font-size: 13px;
    font-weight: 600;
}
.input-container .btn {
    margin: 0 12px;
    padding: 12px 0;
    border: none;
    border-radius: 10px;
    font-weight: 700;
    cursor: pointer;
}
input:focus-visible {
    outline: none;
}
.container .bottom-text{
    font-size: 11px;
    font-weight: 400;
}
.container .bottom-text a{
    text-decoration: none;
    color: white;
    font-weight: 700;
    margin: 0 5px;
}
And there you have it, a beautiful glassmorphism login form created using HTML and CSS. You can further customize the form by adding a background image or changing the color scheme to fit your website’s theme.
In conclusion, glassmorphism is a design trend that adds a modern and elegant touch to any web page. By following the steps outlined in this blog post, you can easily create a glassmorphism login form for your website. So go ahead and give it a try, and let us know in the comments how it turned out for you. Happy designing!


