How To Create Form Validation Using JavaScript
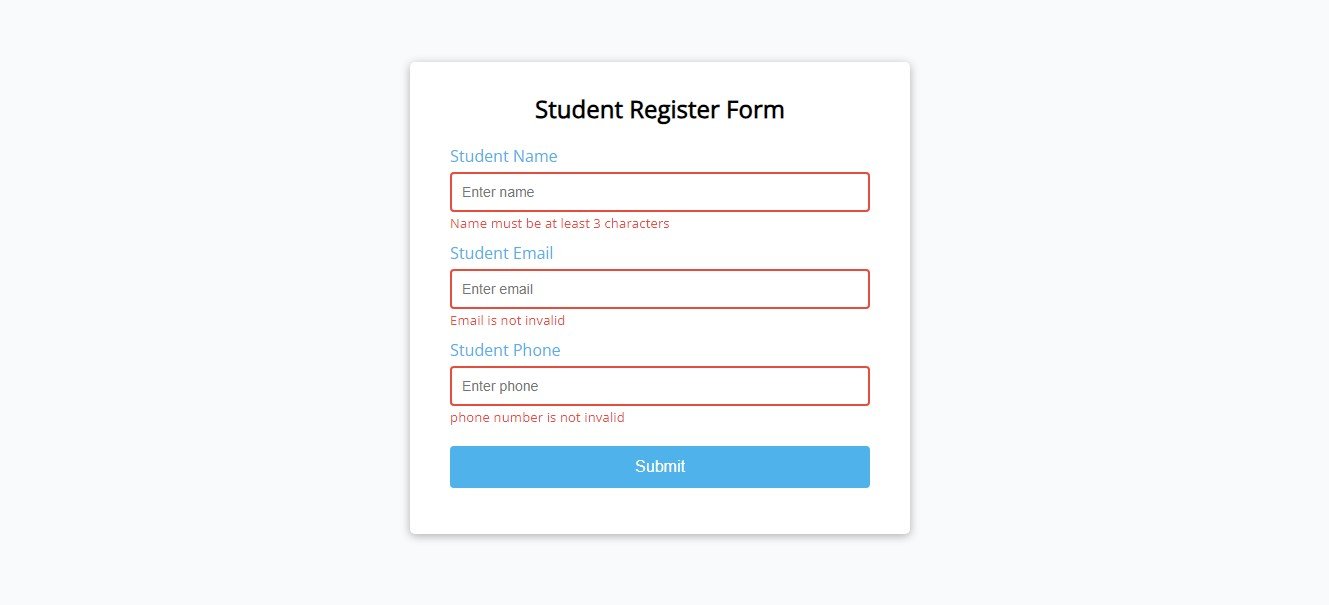
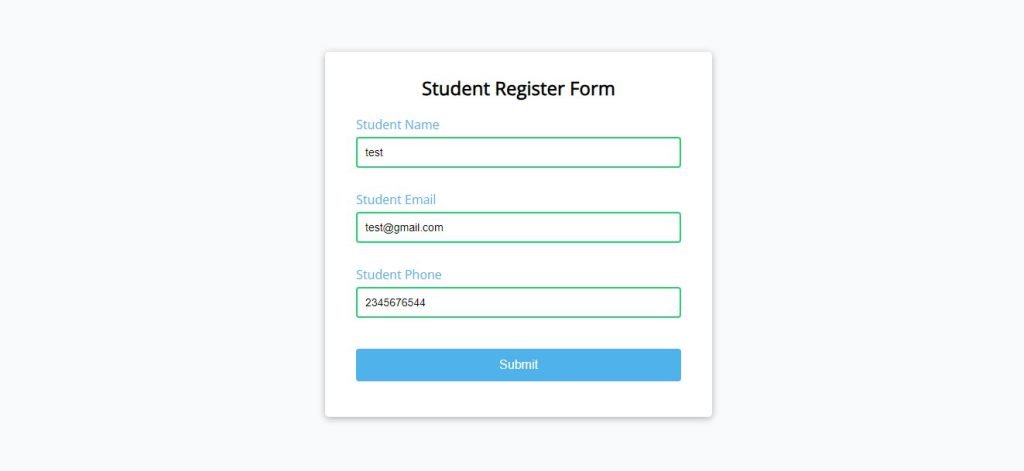
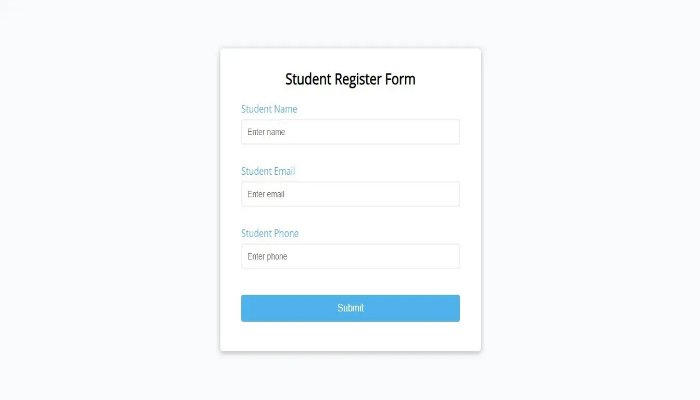
Form validation using HTML and JavaScript is a common practice to ensure that user input meets certain criteria before it is submitted to a server. A simple student register form with fields for a name, email, and phone number. The JavaScript function validate form is called when the form is submitted. It checks the length of the name and email. If any validation fails, an error message is displayed, and the form submission is prevented. You can modify the form validation example to display a success message in green when the form is successfully validated.
Create index.html file and copy code and paste code our layout.
<html>
    <body>
        <head>
            <title>
                Form Validation Using Html JavaScript
            </title>
            <link rel="stylesheet" href="style.css">
        </head>
        <div class="form-validation">
            <form id="form" class="form">
                <h2>Student Register Form</h2>
                <div class="form-control">
                    <label for="name"> Student Name</label>
                    <input type="text" id="name" placeholder="Enter name">
                    <small>Error Message</small>
                </div>
                <div class="form-control">
                    <label for="email">Student Email</label>
                    <input type="text" id="email" placeholder="Enter email">
                    <small>Error Message</small>
                </div>
                <div class="form-control">
                    <label for="phone">Student Phone</label>
                    <input type="text" id="phone" placeholder="Enter phone">
                    <small>Error Message</small>
                </div>
                <button>Submit</button>
            </form>
        </div>
    </body>
    <script src="index.js"></script>
</html>

Create style.css file and copy code and paste code our layout.
@import url('https://fonts.googleapis.com/css?family=Open+Sans&display=swap');
*{
    box-sizing: border-box;
}
body{

    background-color: #f9fafb;
    font-family: 'Open Sans', sans-serif;
    display: flex;
    align-items: center;
    justify-content: center;
    min-height: 100vh;
    margin: 0;
}

.form-validation{
    background-color: #fff;
    border-radius: 5px;
    box-shadow: 0 2px 10px rgba(0,0,0,0.3);
    width: 500px;
}

h2{
    text-align: center;
    margin: 0 0 20px;
}

.form{
    padding: 30px 40px;
}

.form-control{
    margin-bottom: 10px;
    padding-bottom: 20px;
    position: relative;
}

.form-control label{
    color:#50b2eb;
    display: block;
    margin-bottom: 5px;
}

.form-control input
{
    border: 2px solid #f0f0f0;
    border-radius: 4px;
    display: block;
    width: 100%;
    padding: 10px;
    font-size: 14px;
}

.form-control input:focus{
    outline: 0;
    border-color: #50b2eb;

}

.form-control.success input {
    border-color: #2ecc71;
}

.form-control.error input {
    border-color: #e74c3c;
}

.form-control small{
    color: #e74c3c;
    position: absolute;
    bottom: 0;
    left: 0;
    visibility: hidden;
}

.form-control.error small{
    visibility: visible;
}

.form button {
    cursor: pointer;
    background-color: #50b2eb;
    border: 2px solid #50b2eb;
    border-radius: 4px;
    color: #fff;
    display: block;
    padding: 10px;
    font-size: 16px;
    margin-top:20px;
    width:100%;
}
Create index.js file and copy code and paste code our layout.
const form = document.getElementById('form');
const name = document.getElementById('name');
const email = document.getElementById('email');
const phone = document.getElementById('phone');


//Show input error messages
function showError(input, message) {
    const formControl = input.parentElement;
    formControl.className = 'form-control error';
    const small = formControl.querySelector('small');
    small.innerText = message;
}

//show success colour
function showSucces(input) {
    const formControl = input.parentElement;
    formControl.className = 'form-control success';
}

//check email is valid
function checkEmail(input) {
    const re = /^(([^<>()\[\]\\.,;:\s@"]+(\.[^<>()\[\]\\.,;:\s@"]+)*)|(".+"))@((\[[0-9]{1,3}\.[0-9]{1,3}\.[0-9]{1,3}\.[0-9]{1,3}\])|(([a-zA-Z\-0-9]+\.)+[a-zA-Z]{2,}))$/;
    if(re.test(input.value.trim())) {
        showSucces(input)
    }else {
        showError(input,'Email is not invalid');
    }
}

//check Phone is valid
function checkphone(input) {
    const re = /^\d{10}$/;
    if(re.test(input.value.trim())) {
        showSucces(input)
    }else {
        showError(input,'phone number is not invalid');
    }
}


//checkRequired fields
function checkRequired(inputArr) {
    inputArr.forEach(function(input){
        if(input.value.trim() === ''){
            showError(input,`${getFieldName(input)} is required`)
        }else {
            showSucces(input);
        }
    });
}

//check input Length
function checkLength(input, min ,max) {
    if(input.value.length < min) {
        showError(input, `${getFieldName(input)} must be at least ${min} characters`);
    }else if(input.value.length > max) {
        showError(input, `${getFieldName(input)} must be les than ${max} characters`);
    }else {
        showSucces(input);
    }
}

//get FieldName
function getFieldName(input) {
    return input.id.charAt(0).toUpperCase() + input.id.slice(1);
}

//Event Listeners
form.addEventListener('submit',function(e) {
    e.preventDefault();

    checkRequired([name, email]);
    checkLength(name,3,15);
    checkphone(phone);
    checkEmail(email);

});
It’s important to note that while front-end (client-side) validation improves user experience, it should always be complemented by back-end (server-side) validation. Client-side validation can be bypassed, so the server should never trust data sent from the client and should perform its own validation to ensure data integrity and security.
Feel free to customize this example based on your specific form and validation requirements. Additionally, more advanced validation logic can be implemented depending on the complexity of your form and the data you are collecting.
Conclusion
In conclusion, creating form validation using JavaScript enhances user experience by providing immediate feedback and ensuring data accuracy before submission. With custom functions, you can validate fields like name, email, phone, and more.


